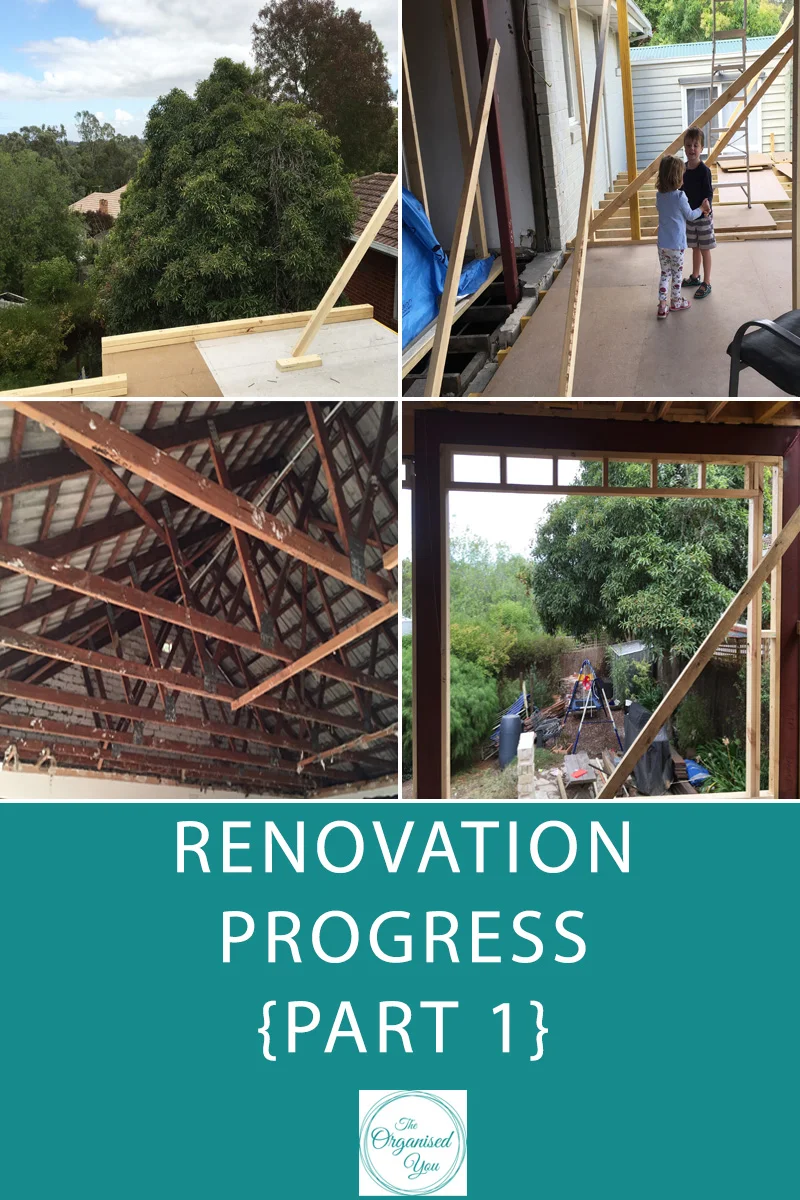
Today I'm showing you part 2 of our bedroom makeover, which is all about construction! This stage was really out of my hands and into my hubby's. Phew. My part was to come later with the painting, organising and interior decorating. It's all about teamwork... and knowing where your talents lie!
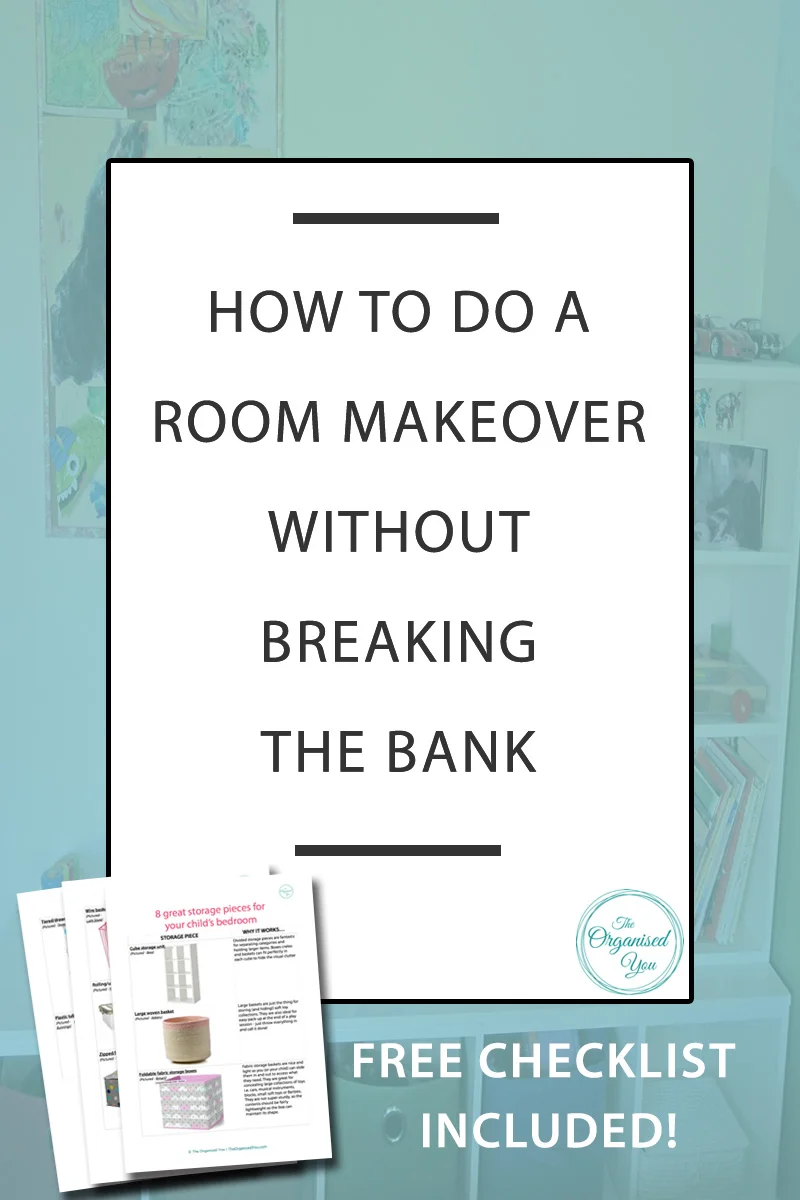
Got an upcoming project at your home? Use the free planner below to figure out what is and isn't working and create a wish-list of ideas in order to create the perfect new space!

In part 1 of our bedroom makeover project, we created a new home office area, with a beautiful new desk and lots of storage space. One can never have too much storage! Here's our original home office area...
Which, once we'd moved everything into the new desk space, we decided to turn into another storage cupboard! Beautiful right?
My first video for The Organised You TV shows the exact process for how to build a cupboard, so Damian basically just followed the same steps. This area was an awkward shape in the room, so closing it off with a cupboard actually gives the room a nicer flow.
We brainstormed different ways to create ample storage in this cupboard, and decided to use what we had on hand to cut down on costs. Around the corner in our hallway we had this Billy bookcase which always bothered me because it looked so messy. In this picture, I'd already started pulling everything off so we could transport it into the bedroom!
It fit perfectly in the space, while still leaving lots of room on the right for new shelving.
My little boy wanted to help with this project. It's so sweet to watch him idolize his Dad so much these days, especially when Damian is building or fixing something. It's a joy to watch! Love his little goggles and ear-muffs - sanding is very noisy work apparently!
The two of them whipped up these shelves in an afternoon - 3 nice wide shelves with brackets. I'll show you next week how I organised everything inside the cupboard and home office area - it was a fun process for this organising nerd.

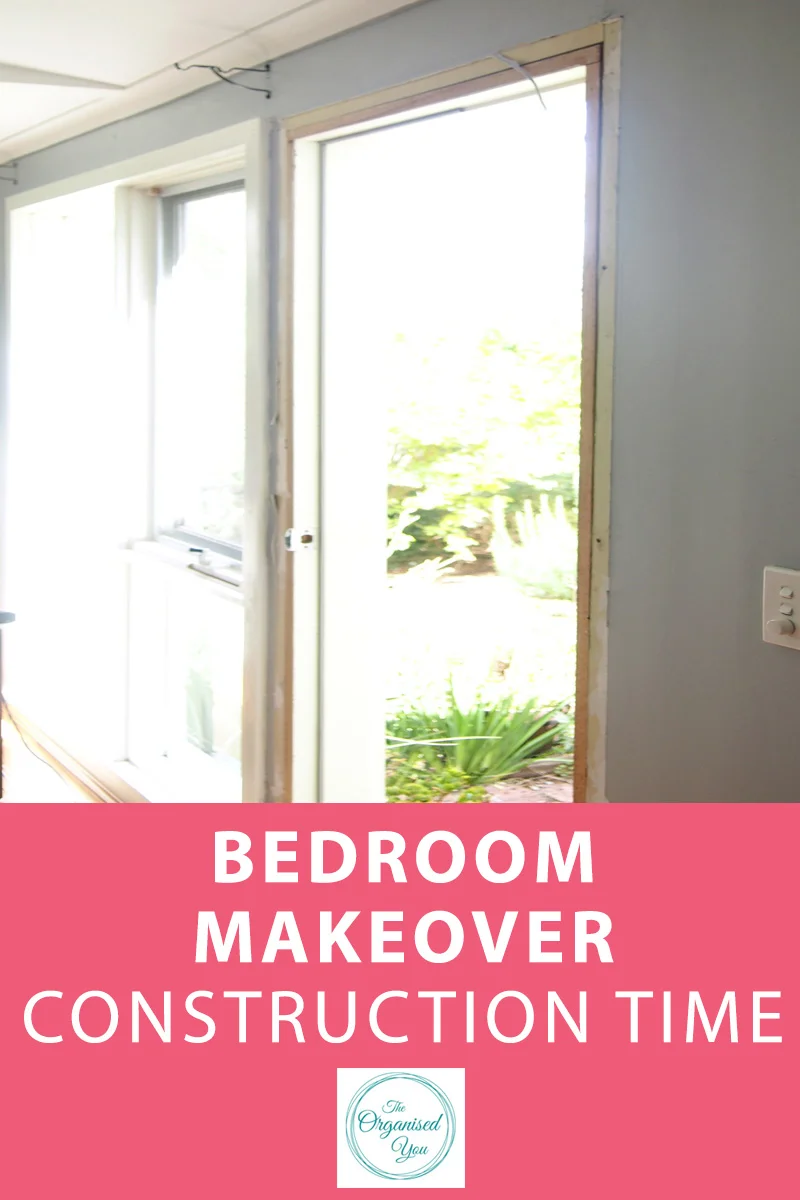
The second part of construction for this project involved removing a door that led to outside (this took another weekend. You can see why this makeover took us so long!). This was originally here because the extension - a studio for my husband who was then working from home - wasn't connected to the house, so we had to walk outside to access this room.
The door was no longer needed, so we decided to board it up to give us more options for shifting the bedroom furniture around. Here's the view from inside the bedroom with the door removed. And no, there's not usually a bin sitting there...
Once the door frame was removed, Damian built a stud wall.
He then covered it with sisalation (a special type of insulation), boarded it up on the outside, and plastered inside. Exciting stuff!
I painted the exterior so it looks like there was never a door there! And while we were on the painting train, it was time to deal with the patched, blue interior.
We had a little painting party on a Saturday night (because when else can painting be completed with kids always underfoot?!), and went with Antique White which we are really happy with. Here's a sneak peek at the new colour and the finished cupboard.
Next week is all about getting this area organised and decluttered. Hope you can tune in!
UPDATE: Got a project coming up at your home? Big or small, it pays to have a detailed plan before you launch in! Grab your free project planner on the button below...