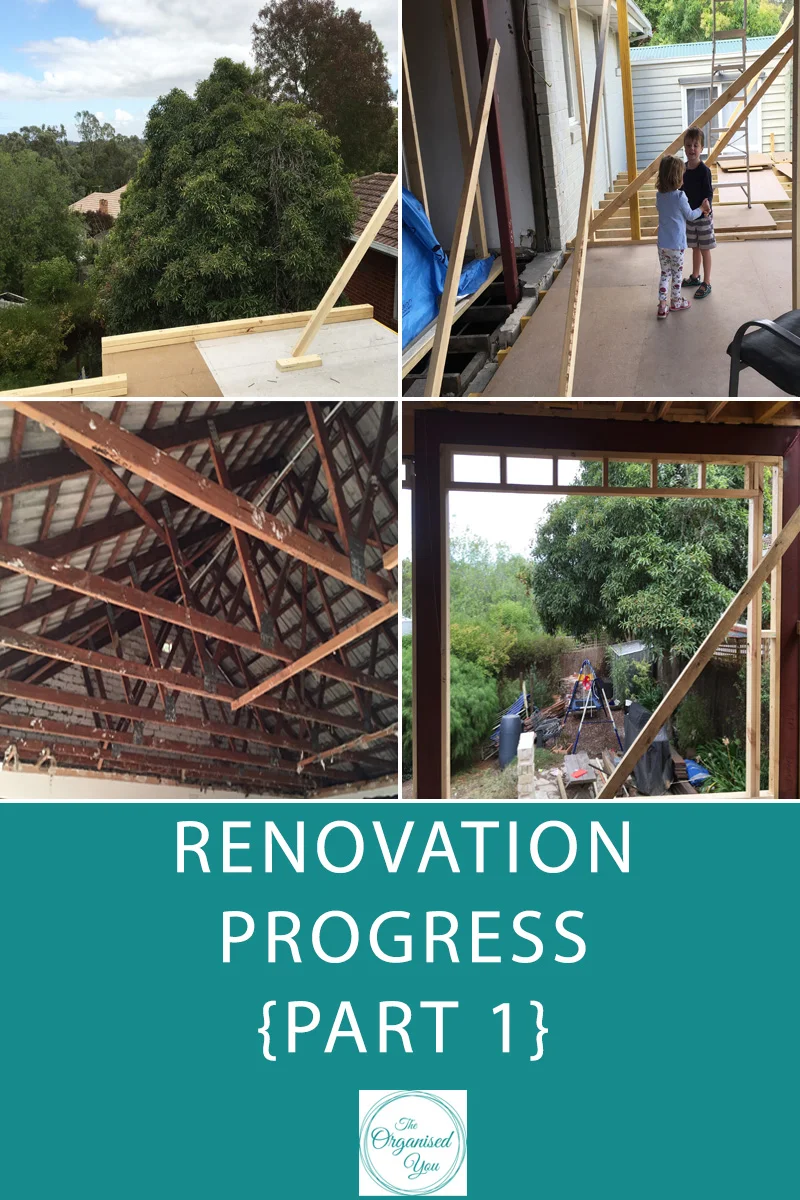
The build of our garden shed turned out to be a bigger project than we anticipated, so prepare yourself for photo overload! We achieved a lot over three weekends of hard work in pretty hot weather. Not only did we erect the shed, we also did a lot of garden clearing, extended the drip system, and fixed up the kids' backyard play area. Here's a look at what we accomplished...
People often ask me how we manage to get through house projects with 2 young children. Sometimes one of our lovely family members will babysit, but if the kiddies are with us the whole time, like with this job, the key is finding jobs that they can 'help' with. For this project my nearly-4 year old was snipping plants with his scissors, using his little wheelbarrow to transport tanbark, digging and raking - he had a great time and loved being our special helper. Involving our 2 year-old was a bit trickier, but she kept herself pretty well entertained in the sandpit or on the swing or trampoline. We were actually pretty amazed at how well they did during this whole project! But there is no doubt that sometimes it is a juggling act when you really want to get something finished and you've got kids to look after.
So, here is the garden 'pre-makeover': one very large swing set from Santa that didn't quite fit the space (doesn't he own a measuring tape?!), a tent blowing around the garden, a completely unused back corner, and a play area that was feeling a little squishy.
The first weekend was spent clearing that far corner of green waste so we could construct the storage shed there. Both my boys were working hard! The long-handled secateurs have been a fantastic investment, we use them all the time.
Once the big westringia bush was removed, we could see how much space we had to work with.
As we cleared, I made bundled branches for free collection through the council. So glad we did this step as we went, as it saved any double-handling. All the other green matter will have to be gradually gotten rid of via the fortnightly green-bin collection, so there is a currently a big pile down the side of the house.
Finally the space was cleared and we could measure out the space for the shed.
I leveled the space with lots of digging and raking, then Damian dug a trench for the concrete footings on which the shed would stand. This was a lot more cost-effective (and less labour intensive) than laying a full concrete slab.
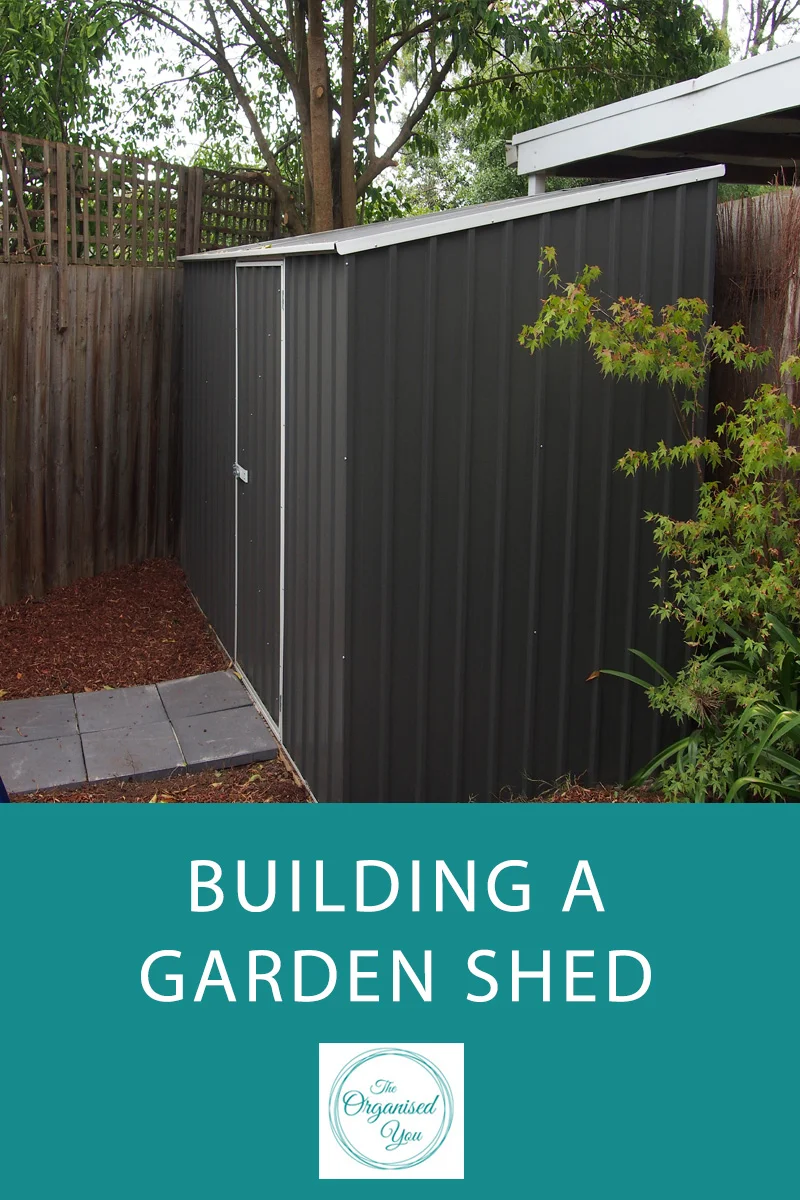
Finally, after all that prep work, it was time to construct the garden shed. We went with this shed from Bunnings for several reasons - it's a neutral colour that will blend in with the garden, it's a nice big size that will hold a lot, plus it was easy to put together. The shed construction required a simple system called 'snap-tight', which involved matching up the corresponding panels, screwing them together, then snapping the edges on by hand.
Damian leaned the pieces up against the fence as he went, then I helped him to attach the sides, holding them together while he drilled. The trickiest part was the roof. Because of the angle of the garden, we couldn't quite get a good grip on it and it was quite hard to get in perfect position. But apart from that we were pleasantly surprised at how easy the construction process was.
The shed floor was just the dirt that we laid it on, but luckily we had a heap of brick pavers left over from when we pulled up our front path. Damian laid these on a cement and sand base, then brushed this same combo in between the bricks and wet it, so that the floor was completely solid.
He also created a little path of grey pavers leading into the shed. Before the new tanbark was brought in, we extended the drip-line for the garden (which we've been meaning to do for a while), so that all the plants in the garden will now receive water.
The final step was to turn the swing set around to where there was a bit more space in front of the sandpit. We made sure it was all level, then Damian concreted it in, just to make jumping on the trampoline a bit less perilous!
Here's the finished garden complete with newly-laid mulch, and looking so much better than what we started with! We separated the slide from the swing set and used posts and a ladder (that Damian originally made for the sandpit) to make it a whole new piece. My son is testing out the trampoline here and loving it!
I feel like the shed blends in pretty well with the garden, and isn't an eyesore at all. We also plan to extend the brushwood fence screening (which you can see on the right side of the fence) all the way around... at some point. Add it to the list!
On the next instalment of The Organised You TV tomorrow, I'll be showing you how we organised the garden shed. Stay tuned!