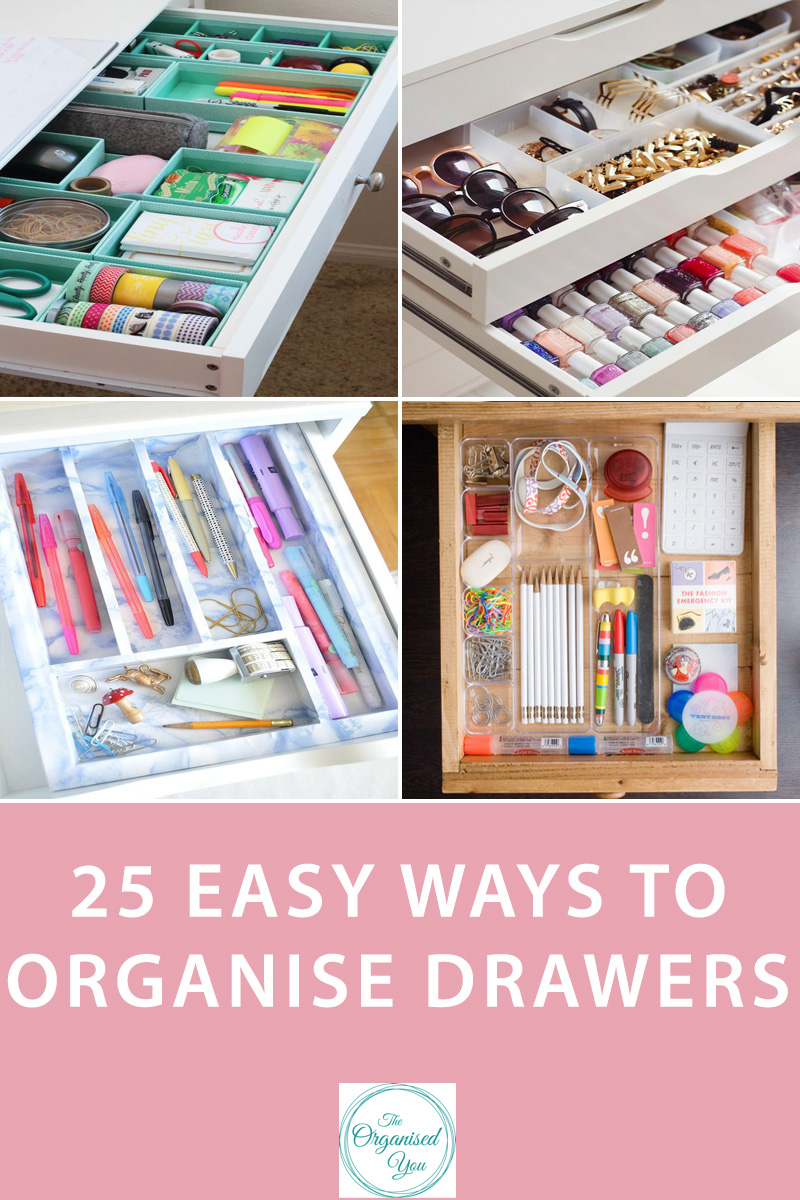
Want to know one of the simplest strategies for getting ready more quickly in the morning? The key to a super-organised bathroom vanity that will save you time, effort and stress on a daily basis? The answer is drawer dividers, my friend - one of the most simple, inexpensive and effective storage solutions out there! Drawer dividers are the best solution for organising all the different categories and giving everything a clear 'home'. In today's post, I'm showing you how easy it is to create an organised vanity in just 15 minutes (or less!).
We've been in our newly renovated home for over 2 months now - hard to believe - and we are slowly but surely making our way through our massive list of tasks. Some of them require more effort than others, but one of the areas I was excited to get a move on with was sorting out our bathroom vanity.
Our choice of vanity was one of the things we deliberated back and forth on for ages. We came up with a list of pros & cons when deciding on whether to go solely for drawers or a mixture of drawers and doors (like the vanity in our other bathroom).
Pros of drawers:
- you can easily reach and access everything, even those things at the back of the drawer
- dividers will allow the drawer contents to be easily sorted and organised into clear categories
- drawers are quick and easy to open and find what you need
Cons of drawers:
- almost all products need to be lying flat in order for the drawers to close properly, which [with some products] can cause spillage and mess
- cabinet doors give you an extra level of storage as you can attach back-of-the-door or over-the-door storage units to hold products
Weighing up these pros and cons, we felt that drawers were a more suitable option for the bathroom vanity, and knowing the great benefits of drawers helped us design a kitchen made up almost entirely of drawers! (can't wait to show this completed space to you very soon).
After looking at hundreds of vanities online, we finally found one that fit the bathroom space absolutely perfectly - it almost looks custom built right?
So, a sink and 2 big drawers each, although Damian conceded to the fact early on that it would be more like 1 drawer for him, 3 for me ;)
Even though I do not have a big makeup collection by any means, I still have a lot more products to store than hubby (no surprises there). I had done a 'semi-organise' in our first few days of moving in, and used some of the baskets and dividers from our other bathroom vanity, but there wasn't any real order. Here's what my 3 drawers were looking like:
Bless my hubby's heart, he had actually found some baskets in one of our cupboards and done some organising of his drawer - finally my organising obsessions are rubbing off!
The absolute best way to organise any type of drawer is definitely to use drawer dividers - be it in the bathroom, kitchen, wardrobe or home office. There is no other product that beats the divider for separating and organising different categories and making things easy to find and accessible. I have them in pretty much every drawer of my house (especially the kitchen!).
Although I originally intended on purchasing new acrylic dividers, I couldn't find the exact ones I wanted, and as it was going to end up costing quite a bit to purchase new dividers for all 4 drawers, I decided to just use what I already had. Because we'd got all new dividers for our kitchen drawers, I had quite a few on hand from our old kitchen, plus an array of containers floating around from my Tupperware days. I hauled the whole lot up onto our bedroom floor where there was space to spread out.
As with any organising project, I always start off by emptying everything out - daunting but necessary.
Having a nice blank slate gives you thinking space to be creative and flexible when trialling different organising solutions.
Plus it's the perfect opportunity to give everything a good wipe-down. I used my all-natural bathroom cleaner to return the vanity to sparkling.
I then started experimenting with different configurations of dividers. These ones were great, but a little too big, and I felt the smaller items would get a bit 'lost' in a tub this size.
These slimline baskets were much better, and the good news is that they were all from the dollar store - I think the average price for one of these babies was about $3.50! I played around with the configuration of these until most of the drawer space was filled. I did end up switching out one of the long baskets with smaller dividers that clip together for the various makeup categories.
Here's a look at how I organised my first drawer, the one I access every day.
After a few days and a bit of adjusting, the final result is fantastic as everything has its own 'home' and I know exactly where to find each item. I also like not having anything cluttering up the vanity top, particularly because there's not a lot of room due to the two sinks.
With the second drawer, I used baskets [that were originally used to organise my freezer] to create divided categories for nail polish, hair tools and hair accessories. Larger tubs were used to store hair products, sanitary products and surplus supplies.
Here's a look at how it came together:
And after a few days of use, it's still going strong!
Because I 'borrowed' some of the dividers from Damian's side for my own drawers, his side was now looking a little less perfect. #sorrybabe
A bit of reconfiguring and some new dividers gave this result:
The final drawer now has enough space for my hair tools, Damian's shaving kit, and also hides away a spare hand towel, toilet paper and cleaning supplies.
The power of an inexpensive and easy storage solution that will get your bathroom vanity organised in no time at all, but will save you time and effort on the daily. Yes please!


