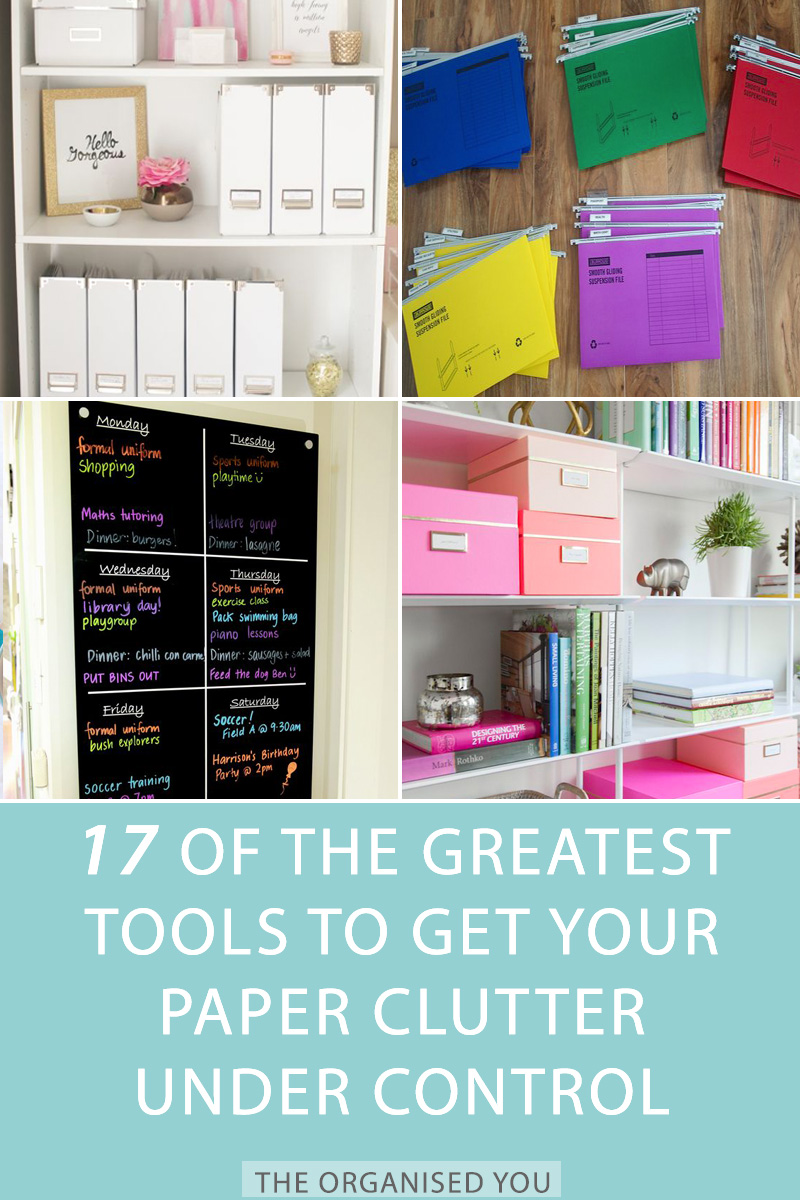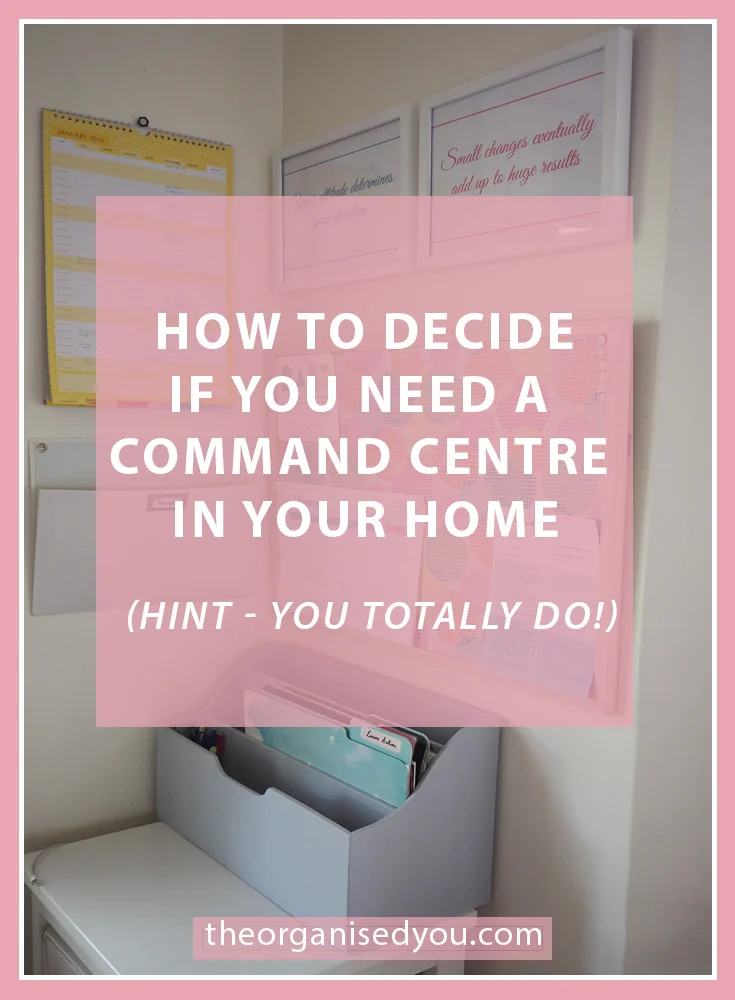
I am so excited to have nearly finished our family command centre, which I will sharing on The Organised You TV this Friday. I always planned to incorporate a cork board, but I wanted to cover it with a nice fabric to add a nice decorative touch. Cork boards are a fantastic organisational addition to a command centre, home office or even a kids' bedroom to display artwork (like I did with my son's art pieces).
I decided to go with a bright colourful fabric... because who doesn't want a little more colour in their lives! I bought a large cork board (55 x 45cm) from our local dollar store for only $9 - score! Here's a step-by-step guide on how I made this baby over:

Step 1 | Gather materials - cork board, material, pins, double-sided tape and ribbon (NB: I didn't end up using the ribbon)
Step 2 | Flip the cork board over to find the staple connecting the border edges together.
Step 3 | With a pair of pliers, gently pry the steel clips apart so the frame comes away from the cork.
Step 4 | Spray-paint the frame. For me, this took 2 coats, with a 4 hour drying period in between coats. Here's the frame hanging in the garage from our family heirloom bassinet - coming in handy!
Step 5 | Give your selected fabric a good iron to remove wrinkles and creases.
Step 6 | When the frame is dry, loosely place the fabric over the cork and gently slot the cork back into place, pushing the steel clips of the frame back together.

Step 7 | When the frame is reattached, pull the fabric tight at the back so it sits flush against the cork, and pin it down with thumb-nails on the side that won't be seen.
Step 8 | Trim the excess fabric away and fold the corners down so there is no bunching of the material. Pin the corners down.
Step 9 | Use double-sided tape to press down loose fabric. It doesn't look pretty from the back but this doesn't matter because no-one is going to see it!
Step 10 | Measure the spot you'd like the frame to sit and push some small eyelet screws into the wood on both sides.
Step 11 | Nail 2 picture-hanging hooks into the wall, then hang the eyelet hooks over these. We found this hanging method to be steadier than a piece of string/wire along the back of the board, just because it is quite big.
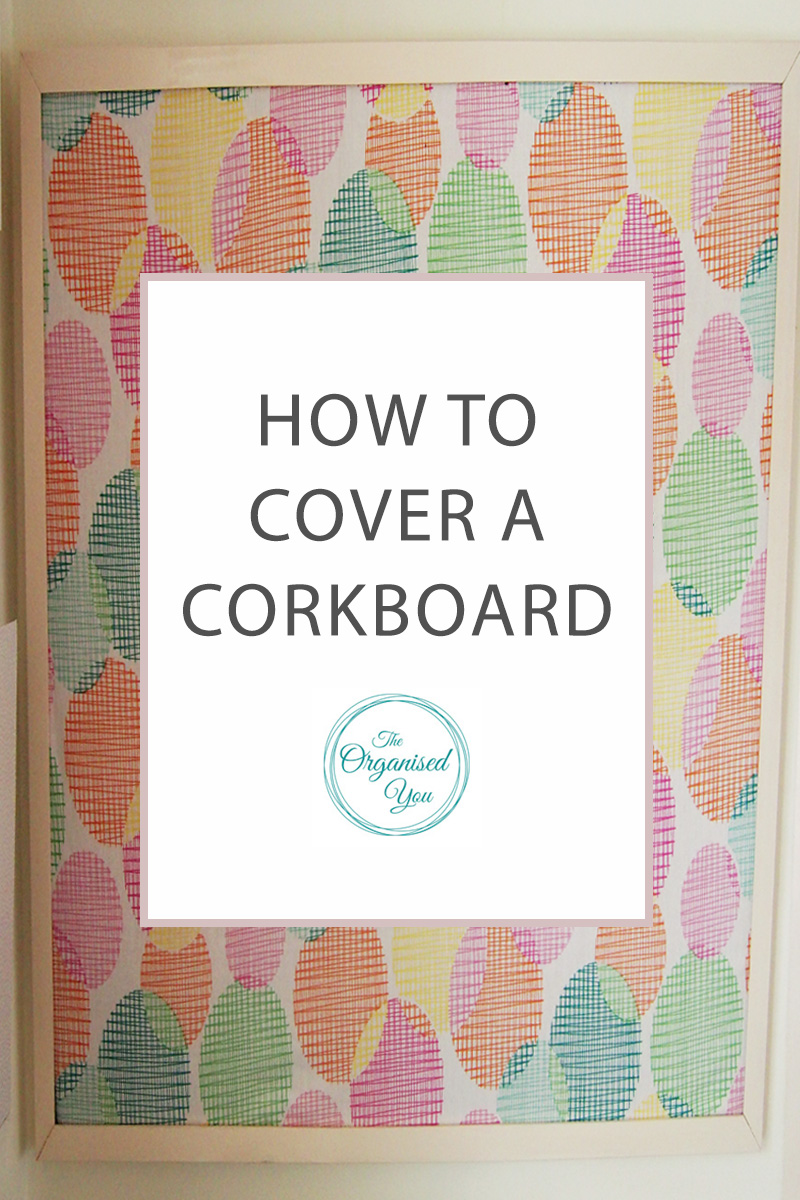
So there you have it, a pretty easy process! Even easier if you decide not to paint the frame, but I prefer this over the plain wood look. I love the pop of colour now in the corner of our living room!
I added some pins down the side for when I start organising it. Stay tuned for this Friday's episode of The Organised You TV, where I will be doing a tour of our whole command center.
(UPDATE: See how I incorporated the cork board into our family command centre in this video!)