One of my (potentially over-ambitious) organisation goals for Jan-Feb was to get the home office sorted. All good to plan these things when you're relaxing on holidays, but the reality is this is quite a big job, particularly with kids at your feet 24/7! So, I'm tackling the home office in stages, which is a good way to approach any overwhelming job.
During the storage cupboard project (see the build here and organisation here on The Organised You TV), the dresser that was previously at the end of the hallway got moved into our bedroom and became a dumping ground. Which is what usually happens during a project, but I did let it sit like this for quite a while!
This dresser was given to us by my Mum, and it has been moved around the house quite a bit over the years. I wasn't too sure exactly what I wanted to use it for, but finally decided it would be the perfect spot to store all my fabric and sewing supplies that were cluttering the home office (feeling inspired by Alison's sewing room makeover!).

I am not a huge sewer, but would love to get back into it when I have a bit more time to myself (#willthateverhappen?). My fabric collection was thrown into this dresser, along with some random bits and pieces, when we gave the unit it was previously stored in to my sister-in-law.
The rest of my [very small supply of] sewing equipment - sewing machine, sewing box, scissors, pin cushion - was held in the bottom two cupboards of our home office unit.
Always the first step of any decluttering project is to clear out everything and give it a good clean. I used Method wood polish, which gives a protective shine to wood surfaces, and smells great too.
I decided to line the inside of the dresser with some decorative paper, as the wood was a little rough and I didn't want any of the fabric to catch on it. Also, pretty paper makes everything better! I picked up a pretty wrapping paper roll from Spotlight. The paper was attached using my glue gun, but it was an awkward shape to work with due to that dividing wood panel.
I ended up adding a lace ribbon so there were fewer messy edges.

I then turned my attention to this delightful pile!
Using a small cardboard template, I quickly folded each piece of material so that it would all be the same size. This would allow me to easily see what I had, and keep the piles of fabric nice and neat.
I placed the fabric into categories as I went - plain colours/tones, coloured patterns (greens, blues, yellows together; pinks, reds, purples and lighter colours together) and Christmas-themed.
These piles then got stacked into the left of the dresser. I added my felt collection on top of the Christmas material. I also kept the cardboard template for any new fabric that I add to the collection.
I then had lots of room to slide in the sewing box, pin cushion, scissors and sewing machine. The machine is sitting on a large felt piece so it doesn't rip the paper lining.
I'm a fan of my organised sewing supplies, and this is a much more useful purpose for the dresser. The other supplies (wadding, some patterns, velcro etc) was all put back into the home office unit, but it now only takes up 1 of the lower cupboards, rather than spreading over 3!
>> If you'd like to learn the step-by-step process for tackling the decluttering of any space in your home, then check out my guided, online course 'Chaos to Calm' right here! >>
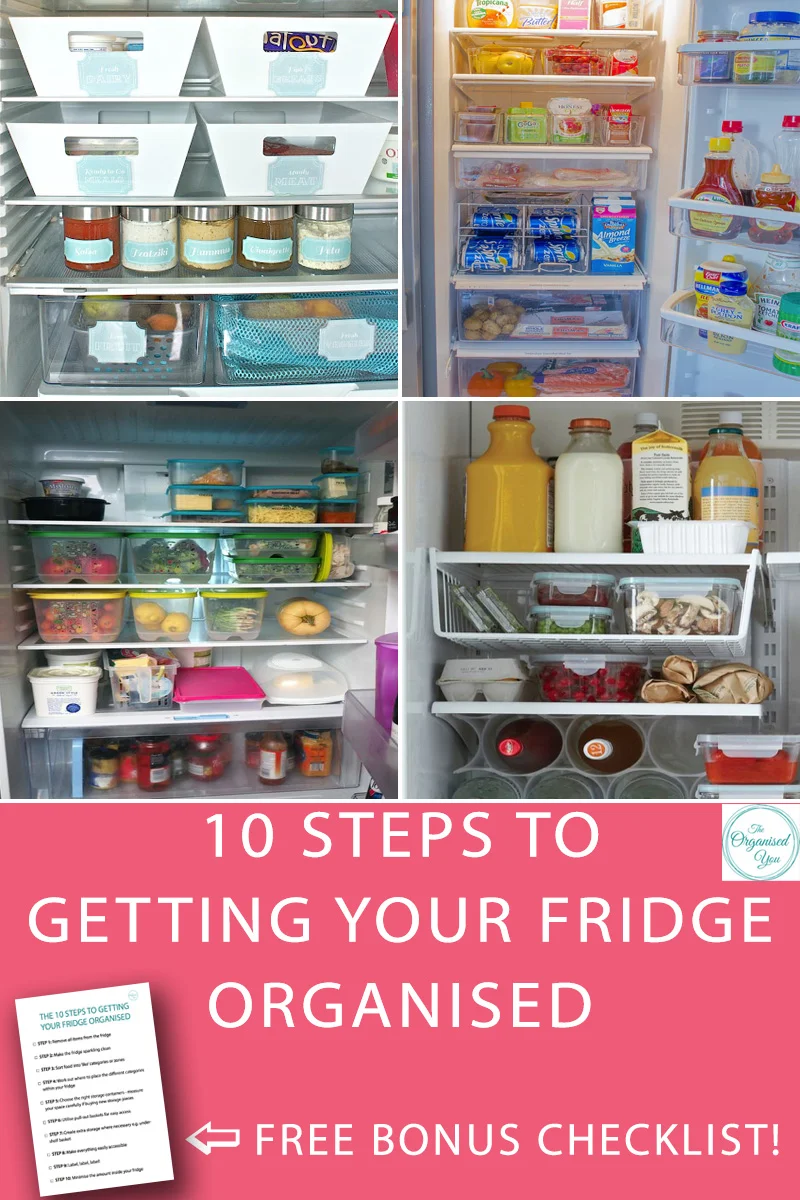
Although setting up the home office is not checked off my organisational goals yet, at least I'm making some progress. I have completed a few more on the list so will share those with you over the next month. Here are the links to others I've accomplished so far:
FRIDGE | FREEZER | HOUSEHOLD BINDER | FINANCE BINDER
How are you going with your goals? I've had a number of people share pictures with me of their newly organised fridges, freezers and linen cupboards - I love seeing these, and am so glad you are picking up some useful tips. Happy organising!